

/accounts) is where you manage all your accounts in one place.
Account types

Automatic account
Connects to your bank through open banking. Transactions and balances sync on their own.

Manual account
Created by hand, with no bank connection. Ideal for cash, foreign accounts, or unsupported banks.
Accounts with no type
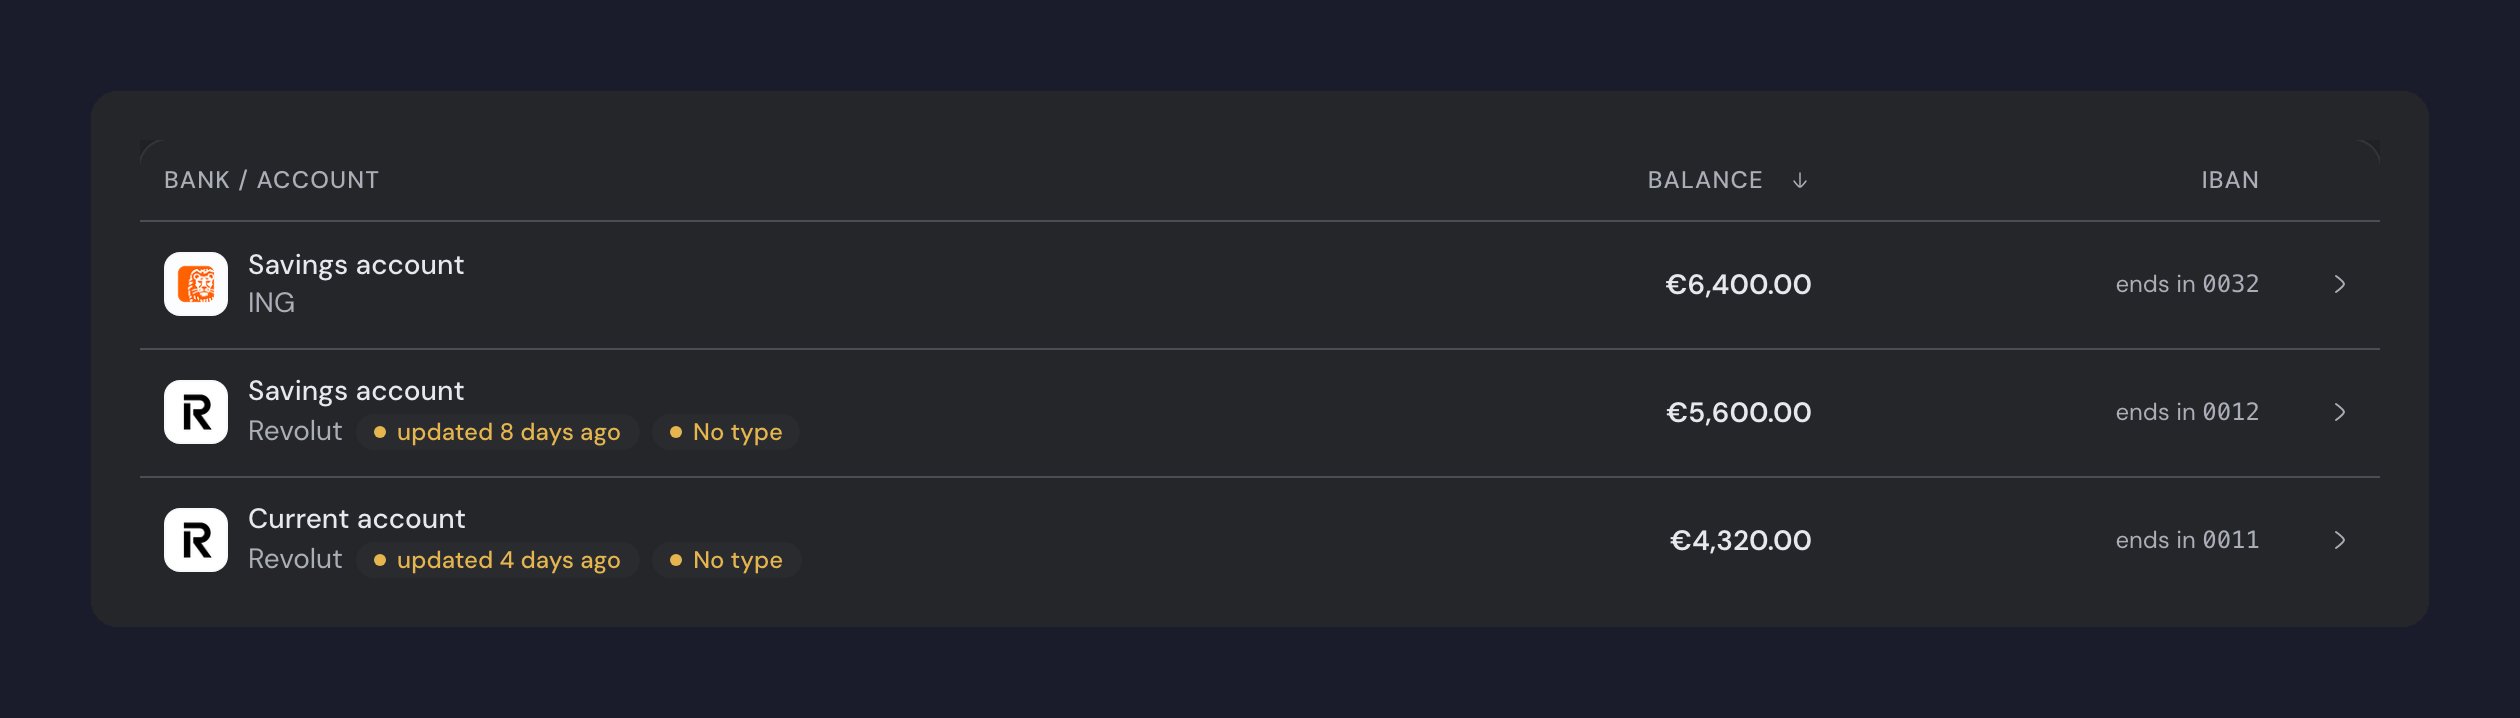
Not every bank states what kind of account it is sharing. When that happens, the account shows a No type label in the list and guito does not guess: until you set the type, that account’s balance counts as cash.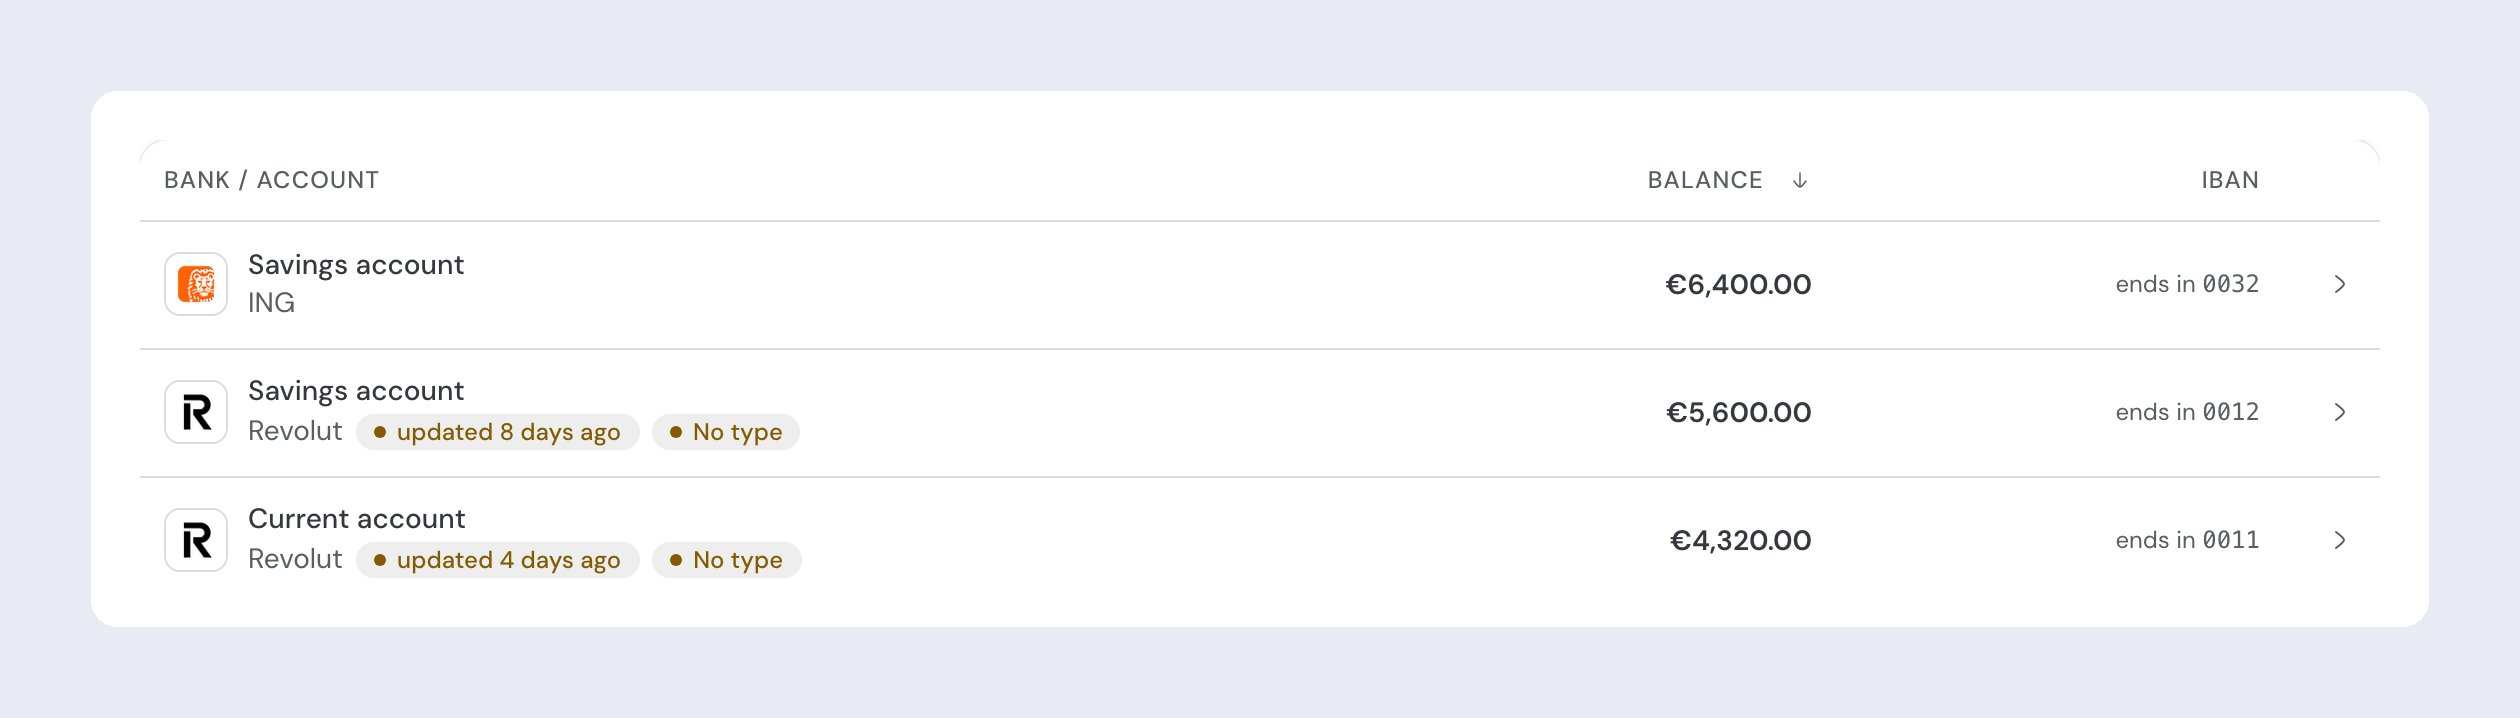
1
Open the account
On the Accounts page, click the account marked No type.
2
Set the type
Under Details, click Set type and choose the account’s type.
Add an automatic bank account
In Accounts, click Add and choose your bank: you authorize read-only access in your own bank’s portal, and guito then imports your transactions and balances. The step-by-step is in connect your bank. Automatic sync is part of Plus: during the free trial you can create up to two bank connections — each connection brings in every account you authorize at that bank. For the details of authorization and connection renewal, see bank sync.Reconnect an expired account
When a connection expires, a notice appears at the top of the Accounts page. Click Manage and reconnect it in Connections (the Tools section of the sidebar).Re-authorize a bank you’re already connected to
Sometimes your bank starts sharing an account it didn’t share before — a credit card, for example. That account only appears in guito once you authorize access again, even when the connection is working fine. In Connections, open the connection’s ⋯ menu and choose Re-authorize. The flow is the same as the initial connection, and the accounts you already have keep their history: guito recognizes them and only adds the new ones.Add a manual account
1
Open the Accounts page
Go to Accounts in the sidebar.
2
Add the account
Click Add.
3
Choose manual entry
In the dialog, select Add manually.
4
Fill in the details
Give the account a name (“Cash at home”, for example), choose the currency and the type — checking, savings, investment, cash or credit card — and, if you like, a bank, an icon and a color.The starting balance is the balance at the start of the start date (today by default); movements from that day onward are added to it.
5
Create the account
Confirm to create the account.
Connect a manual account to your bank
If you’ve been keeping an account by hand and your bank has since become available through open banking, you can connect that same account instead of creating a new one. The history you already recorded stays where it is.1
Open the account
On the Accounts page, click the manual account you want to connect.
2
Turn on syncing
On the Automatic sync card, on the right, click Enable sync. In the app the card carries an illustration and you just tap it. The same option is in the account’s options menu.
3
Authorize at your bank
You’ll be taken to your bank. Once you authorize, you’ll come back to guito.
4
Identify the account, if asked
When your bank returns more than one account, guito asks which one matches the movements you already have.
You won’t get duplicate movements. The days you already have recorded aren’t imported again; the rest of the bank’s history comes in.
Add a credit card
A credit card is an account with its own type. The balance represents what you owe, so it counts as a liability (debt), not as available cash.1
Open the Accounts page
Go to Accounts in the sidebar, click Add, then Add manually.
2
Choose the Credit card type
Under Account type, select Credit card.
3
Enter the amount owed
In the Amount owed field, enter how much you currently owe, as a positive number. guito stores it as debt.
4
Create the account
Confirm to create the card.
Some banks share credit cards over open banking: when yours does, the card is linked along with your other accounts and its balance updates on its own.
Credit limit
Some banks share only the available credit — how much you can still spend — rather than the amount owed. In that case, guito needs your card’s limit to work out the amount owed (limit minus available credit). The card then appears in the list labeled No limit set, showing the available credit your bank shares (for example, “€564.14 available”) where the balance would go.1
Open the card
On the Accounts page, click the card marked No limit set.
2
Set the limit
Click Set limit, below the available credit at the top of the page (or under Details), and enter the card’s limit (you’ll find it in your bank’s app or online banking).
Add notes to an account
When you create or edit an account, write whatever you want to remember in the Notes field — the account number, for example. The note appears in the account’s Details card.Reconcile a balance
A balance reconciliation pins an account’s balance to a specific date. From that date onward, the chart anchors to that value.1
Open the account
Open the account in Accounts.
2
Start the reconciliation
From the (⋯) menu, choose Reconcile balance, or use the Add button in the Balance reconciliations section.
3
Set the date and amount
Choose the date and the amount, that is, the balance at the end of that day.
4
Save
Confirm to save the reconciliation.
Reconciliation is available on both manual and automatic accounts. On an automatic account, it lets you seed the history before the first synced date (instead of a line at €0) or correct a value inferred by guito. It is not available on Trading 212 cash accounts, where the balance comes from the broker itself.
Removing data
To delete an account, open it in Accounts and choose Delete account from the (⋯) menu: the account, with all of its transactions and history, is permanently deleted and can’t be recovered. If you only want it out of sight, choose Archive in the same menu — that action is reversible. To permanently remove all of your data from guito, delete your account.Related pages

Bank sync
How open banking, authorization, and connection renewal work.

Transactions
View, categorize, and analyze your accounts’ transactions.

How balances work
The logic behind balances, history, and reconciliations.

Goals
Allocate your account balances to savings goals.