

/transactions) brings every transaction from your connected accounts together in one place.
Transactions come from the accounts you connect through open banking. To get started, connect a bank from the Accounts page. See Bank sync.
View and filter transactions
Open Cash flow in the sidebar to see the full list of transactions across all your connected accounts. At the top, the All, Income and Expenses tabs show each side of cash flow. From there you can combine filters by category, merchant, entity type, account and period, or search free text. Search also matches the original bank description, so it finds a transaction by the text on your statement even after you’ve renamed the merchant. Clear filters removes every filter except the period. When the period you’re looking at has transactions that were left without a category, the category filter offers Uncategorised as its first option, with the number of them beside it. Pick it to review them and file them in one pass. You can combine it with ordinary categories. Most people never see the option, because everything that arrives from a bank is categorised automatically: it usually appears after you add a transaction by hand without choosing a category. If you know you have some but the option is missing, widen the period to All time. Above the list, a strip sums up the period you picked: the balance, income, expenses and your savings rate — the share of what came in that was left unspent. It turns red and negative when you spent more than you received, and it does not appear in periods with no income, where there would be nothing to work it out from.The income, expense and balance totals at the top of the list always reflect the active filters — the entire filtered set, not just the transactions visible on the page.
Choose the period
The date selector at the top controls the period for the whole page — the list and the charts. It has shortcuts for the most common ranges (30 days is the default) and a calendar for picking a custom period. The last shortcut is All time: it starts at your oldest transaction and runs to today. It’s the period to pick when you want the full cost of something that spans years, such as a home renovation, or everything you have ever spent in a category or with one merchant.See how spending evolves
The Trend panel, at the top of the page, shows where your money goes over time, always according to the active filters.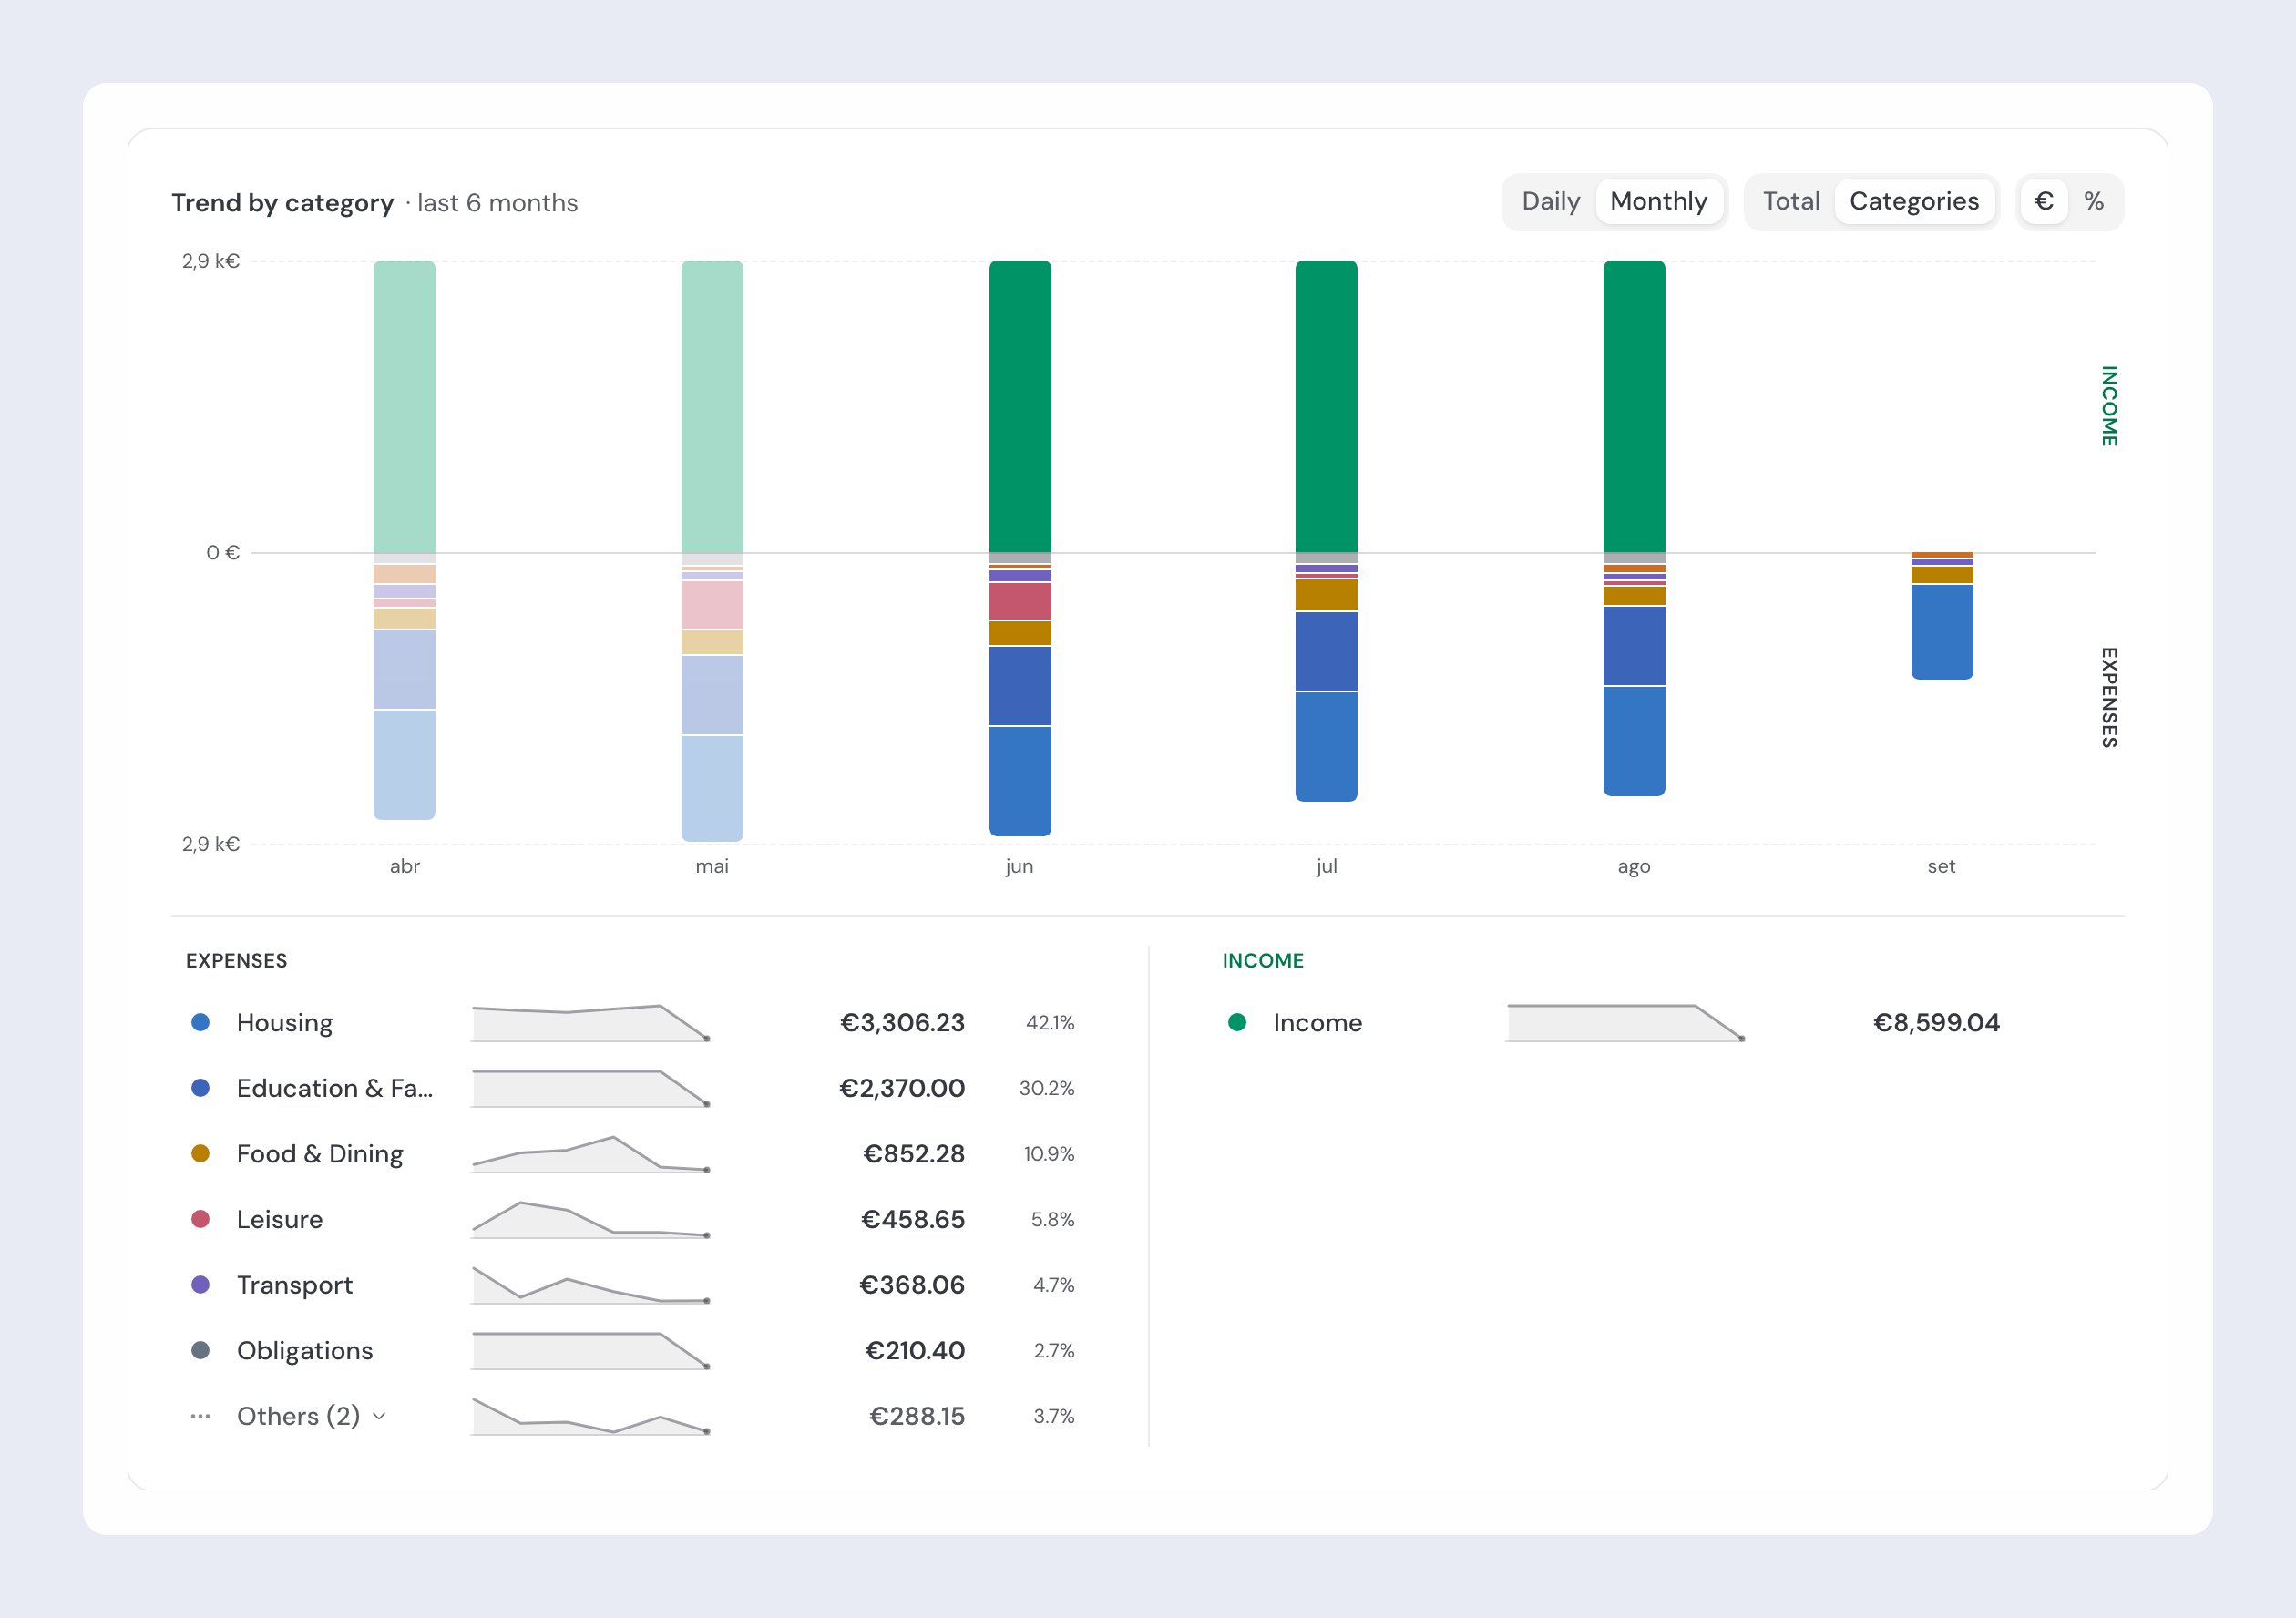
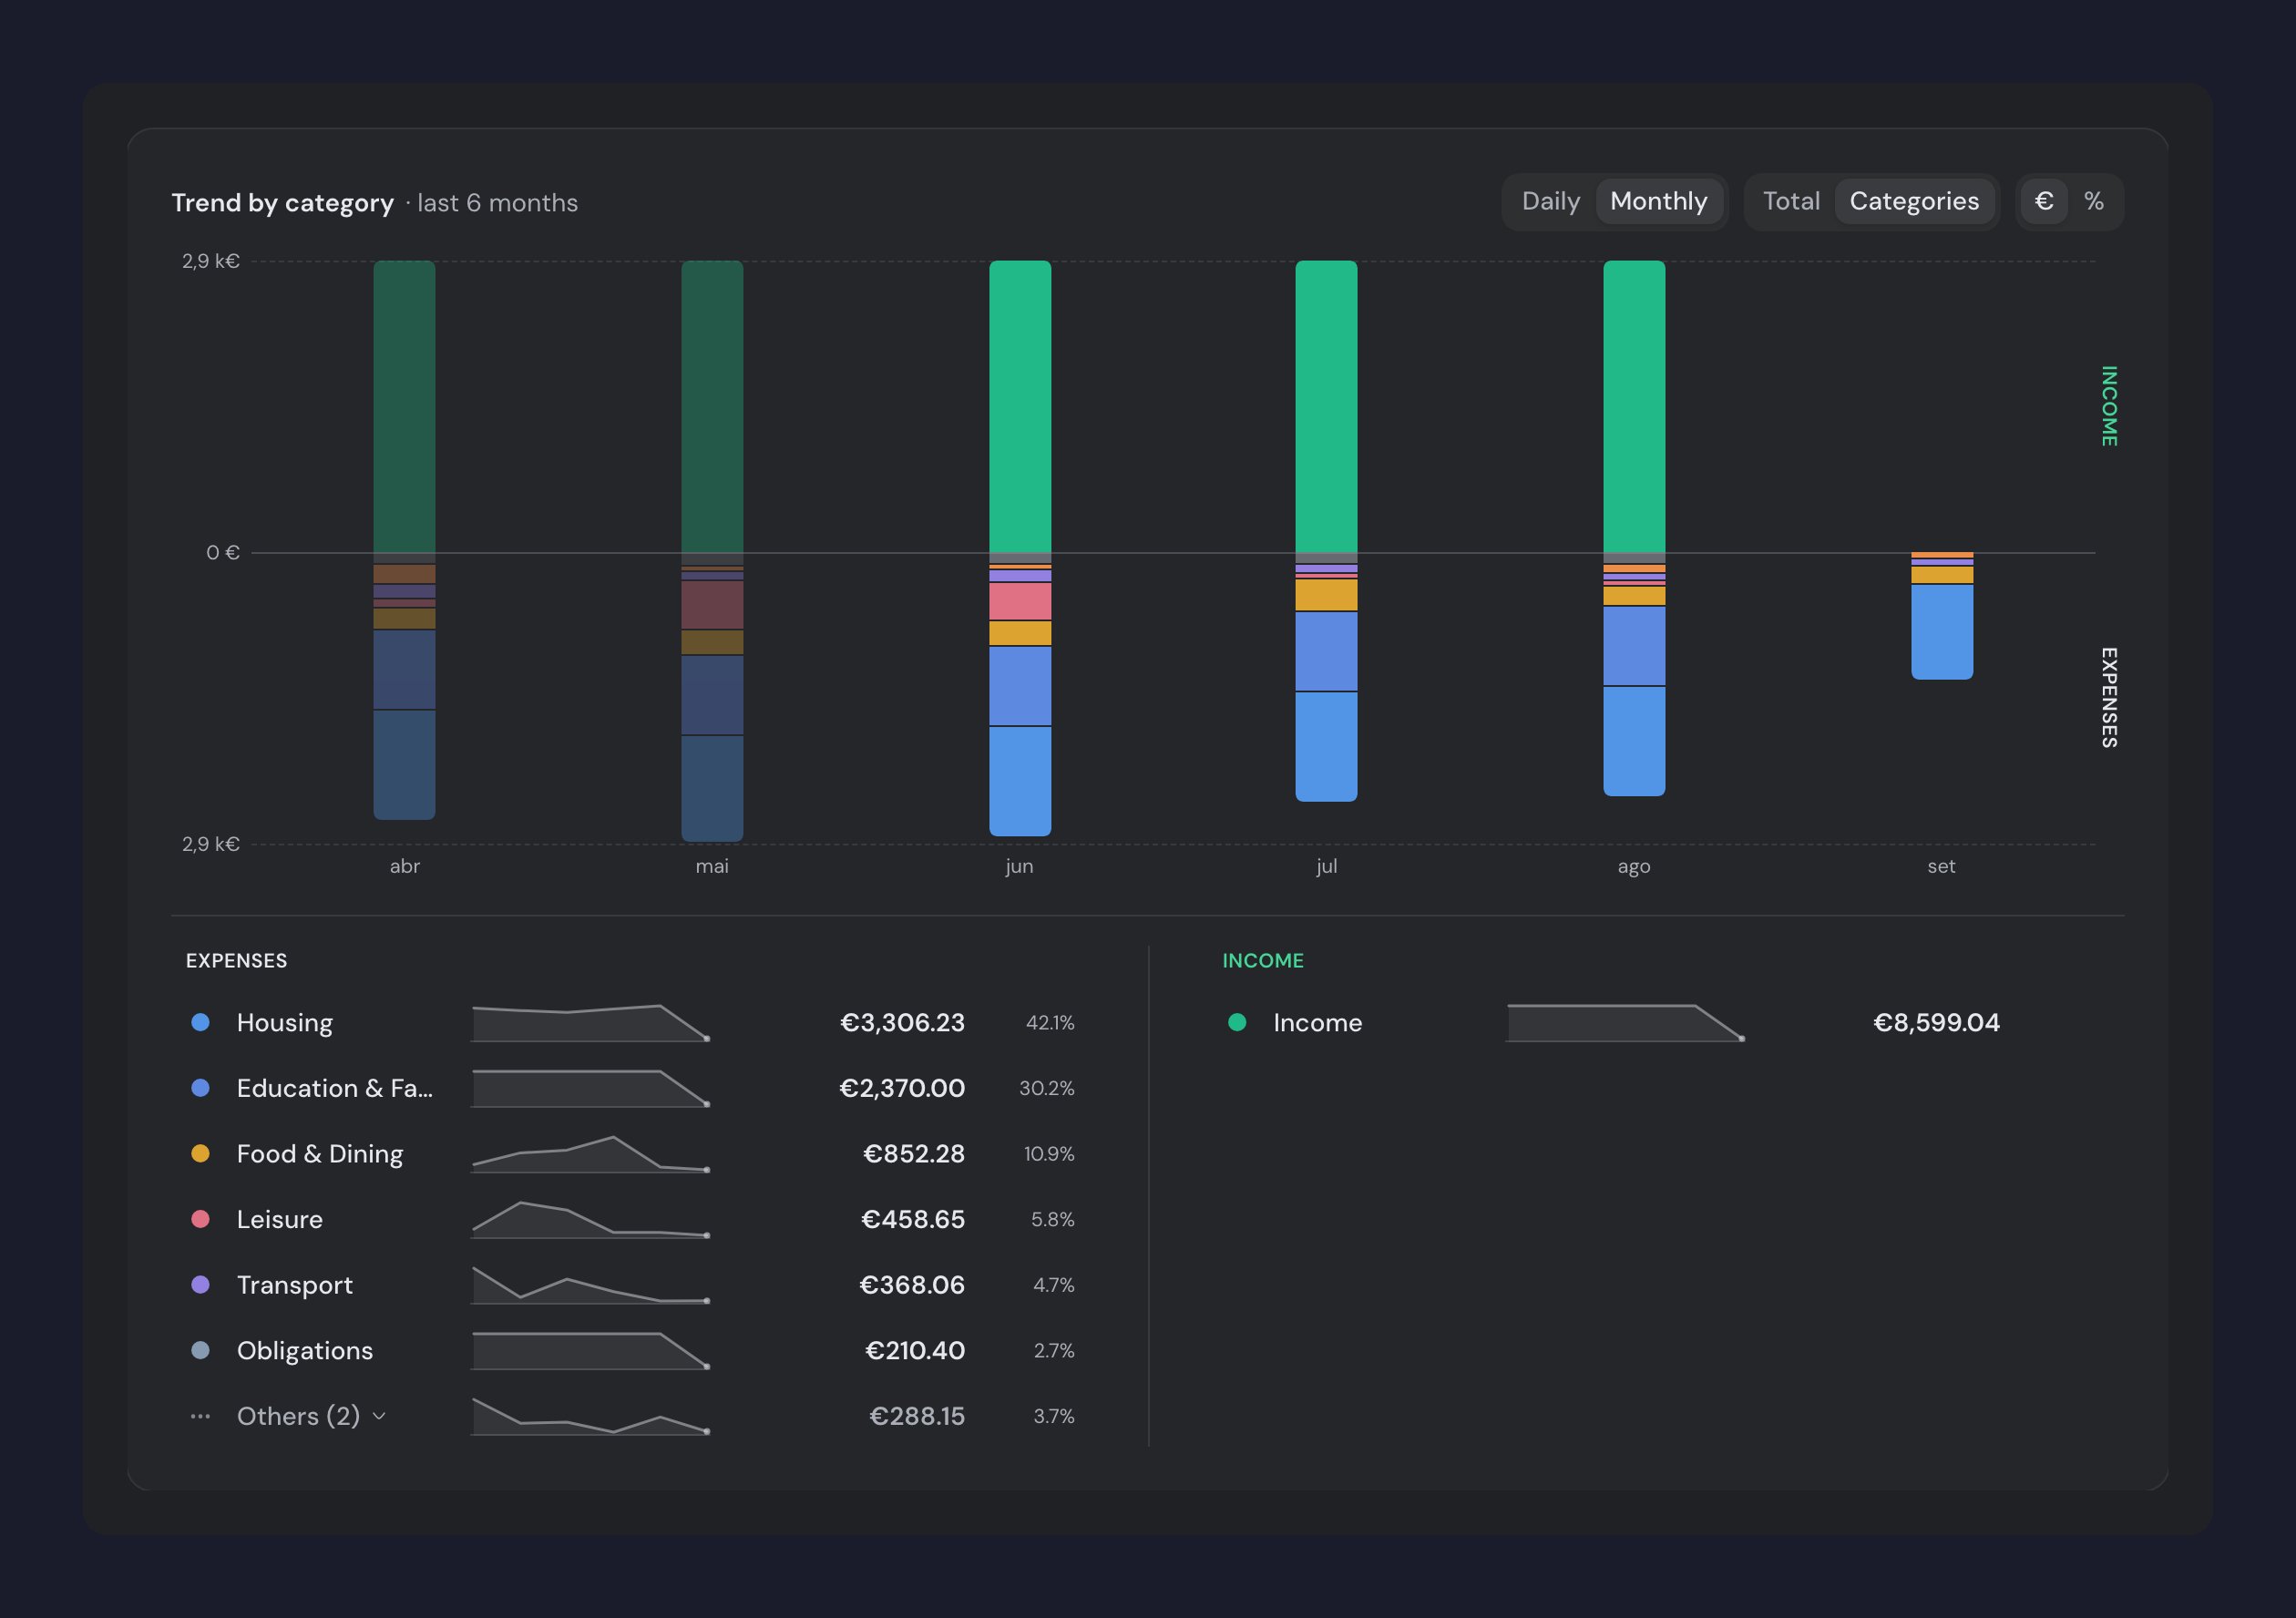
- The Total / Categories toggle picks what the chart answers. In Total, each month shows just two bars, income above the line and expenses below, so you can see at a glance whether you took in more than you spent. In Categories, the bars split by category group.
- The Daily / Monthly / Quarterly / Yearly control changes the chart’s detail. Only the options the chosen period can actually show appear: 30 days has no quarters to compare, and a year has no days that fit on the axis.
- The stacked bars show how spending splits across the period, in euros or as a percentage, and beneath them a ranked breakdown shows each group’s weight, with a mini chart of how each one has moved.
- The chart always shows at least six months, even when you filter to less, because two months is not a trend. Months inside your filter are drawn at full strength and the rest sit lighter, as context. To see exactly the period you filtered, pick the Daily detail.
- With the tab on All, expenses and income split apart: expenses below the line, income above.
- The breakdown starts at the category-group level and drills down to each category when you filter by category.
- Click a category to filter the list by it.
Rename or change the merchant
If you would rather see a different name for a merchant (for example, a shorter or clearer one), you can change it. The change applies to every transaction from that merchant.1
Open the transaction
In Transactions, click a transaction from the merchant you want to change.
2
Edit the transaction
Click Edit at the top of the transaction page.
3
Change the merchant
Click the Merchant field to open it and type what you are looking for. Pick a suggestion or keep the text you typed, then click Save.
4
Apply it to the past as well
The new name takes effect right away for that merchant’s future transactions. When guito asks, confirm to apply it to past transactions too.
A name you type yourself is personal: only you see it. If you pick a suggested brand, you get that brand’s official name and logo.
Add notes to a transaction
You can save a personal note on any transaction — synced, imported or manual — for example to remember why you spent the money or that someone is going to pay you back. Open the transaction, click Edit and type in the Notes field. The note is private: only you see it.Add a transaction or a transfer
Not everything arrives from the bank: a cash payment, an account you haven’t connected to guito, or money that moved from one of your accounts to another. Click Add, at the top of the Transactions page, and fill in the form. The same form opens from an account’s Transactions section, already fixed to that account: there is no Transfer there, because the second account is missing. Start with Type — Expense, Income or Transfer — which decides the rest of the form. For an expense or income you pick the account, a description, the amount and the date, and you can choose the category and the entity; on the Plus plan you can also set a repeat on manual accounts. For a transfer you pick the source and destination accounts — only accounts in the source’s currency are listed — and guito records both sides at once, keeping them out of your income and expense totals. If you are writing a transaction into a synced account and the bank has already sent a matching one, guito warns you in the form and gives you the date of the transaction it found. It is only a warning: you can still save, because you may well be recording something else. If it is the same payment, the bank’s own transaction arrives on its own and you do not need to write it.Link a transfer between accounts
guito automatically detects transfers between your own accounts and excludes them from your income and expense totals, with no action needed from you. To understand why transfers stay out of the totals, see Transfers. When automatic matching is not enough to decide, you can link the two transactions by hand:1
Open the transfer
Click a transaction that is a transfer between your own accounts.
2
Choose the Transfers category
Edit the category and choose Transfers.
3
Pick the matching pair
guito suggests candidate transactions from the other account. Pick the correct pair.
4
Done
Both transactions are linked and automatically excluded from cash flow.
Move a transaction to another account
If you recorded a transaction in the wrong account, you can move it to another of your accounts. This applies only to transactions you created manually: synced or imported transactions stay tied to their source account. Open the manual transaction, click Edit and pick the destination account in the Bank account field. The field only lists accounts in the transaction’s own currency. A transaction in pounds cannot move to an account in euros: that account’s balance would add the figure as it stands, with no conversion, and end up wrong. To record the amount in another currency, delete the transaction and enter it again in the right account.Exclude a transaction from cash flow
Sometimes a transaction should not count toward your totals (for example, a one-off entry you do not want reflected in your expenses). You can exclude it without deleting it.1
Open the transaction
Click the transaction to open its page.
2
Open the actions menu
Click the actions menu (the three-dots icon).
3
Exclude it from cash flow
Choose Exclude from cash flow. The transaction stops counting toward income and expense totals, but stays visible in the list.
4
Include it again
To count it again, repeat and choose Include in cash flow.
Import transactions from a file
If you want to bring in transactions from a broker via a CSV file, the import happens on the Investments page, not here. See Import and export data for step-by-step instructions.Related pages

Automatic categorization
How guito assigns a name, category and merchant to each transaction, and how to correct it.

Cash flow
How guito counts what comes in and what goes out, and why a refund isn’t income.

Transfers
Why transfers between your own accounts do not count as income or expense.

Bank sync
How automatic open banking sync works.